From the Lab: The journey of a green coffee sample
-
-
Dear reader,
Before we begin learning and analyzing the workflow of green coffee evaluation, I want you to know that our goal is to support farmers and grade with best intent in mind. While quality is most important, remember that the livelihood of the farmers is severely impacted by our reports. Grade with objectivity, and not personal preference.
-
-
Step One: Receiving Samples
The first step in the sample process is logging it in a database. At Mercanta North America we use Cropster Lab to enter and keep track of our samples. This tool is incredibly efficient throughout the sampling process as the code assigned to a coffee keeps records of information such as density, moisture content, cupping scores, and many other things that I will cover later in the article.
-
Step Two: Green Grading (physical)
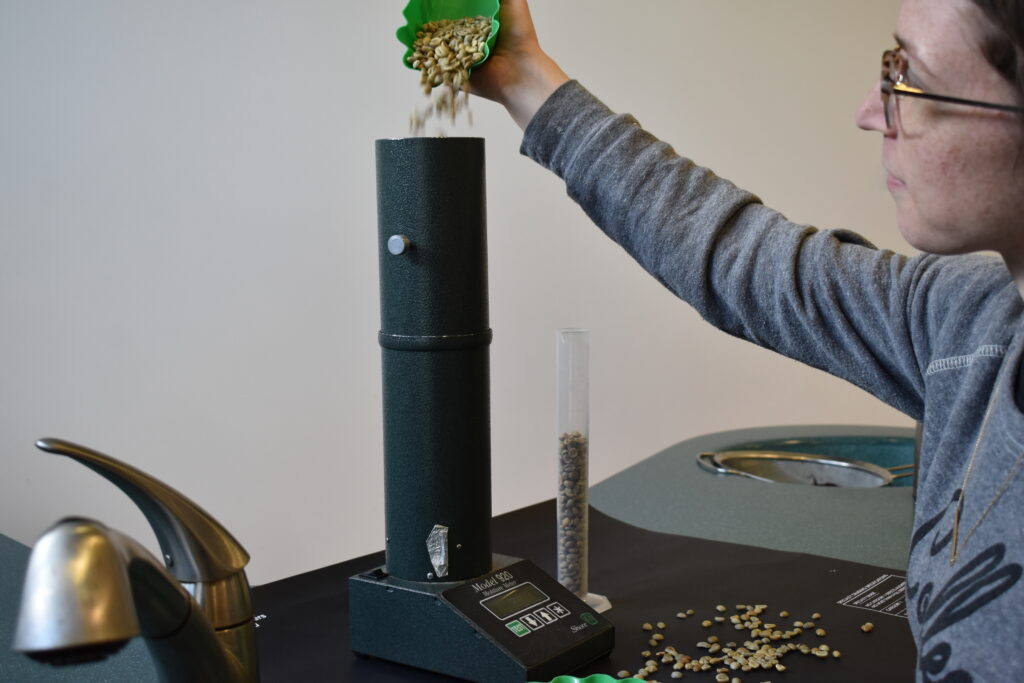
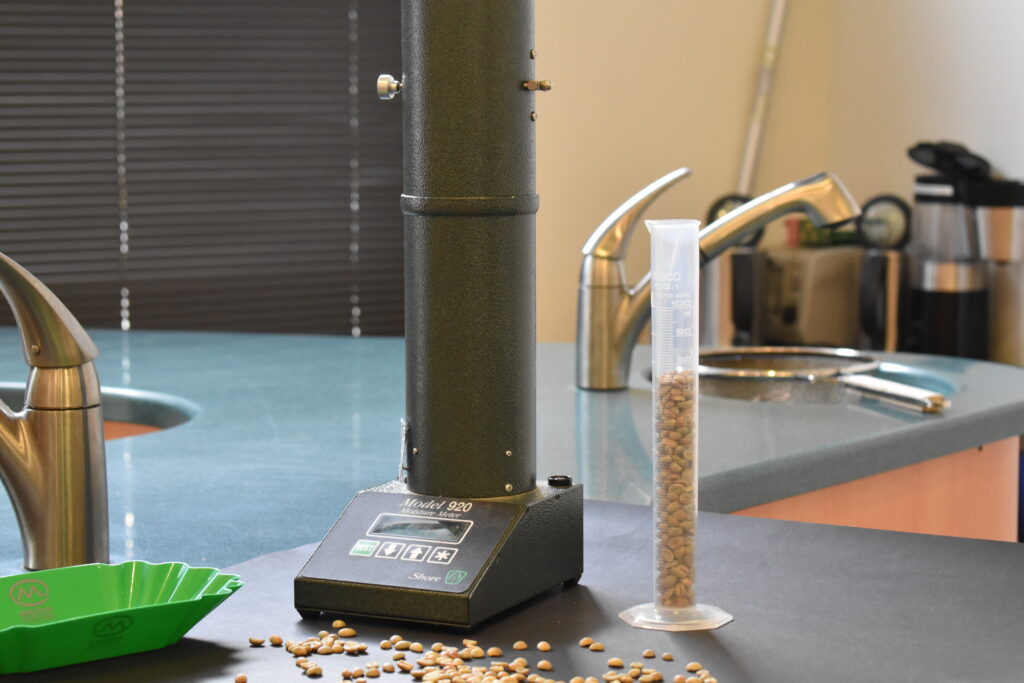
The second step in the sample process is grading of the green coffee. First, the coffee is measured for density and moisture content which is ideally between 9-11%. Second, the 350g of coffee is weighed out and sorted for physical defects. While the guidelines set by the Specialty Coffee Association and Coffee Quality Institute state that specialty grade coffee must contain zero primary defects and up to 5 full secondary defects, Mercanta allows zero primary defects, up to 2 full secondary defects, and no more than 30 defective seeds per 350g sample. We make exceptions for producers we have existing relationships, as well as producers we look to partner with in the future.
-

-
Step Three: Roasting
The third step in the sample process is roasting of the green coffee. All of our offices use the ROEST, a sample roaster from Norway that we helped pilot through the first few iterations. With a sample roaster that logs all the roast graphs, allows manual or automatic control, and has Wi-Fi capabilities to swap out automated roast profiles. On a macro level, this allows consistency between our international offices with more accurate calibration to follow. On a micro level, the consistency between roasts allows us to taste the coffee easily and efficiently for its truest characteristics. Our job as green coffee graders are to analyze the quality of the coffee, not the roast.
-
-
Step Four: Cupping
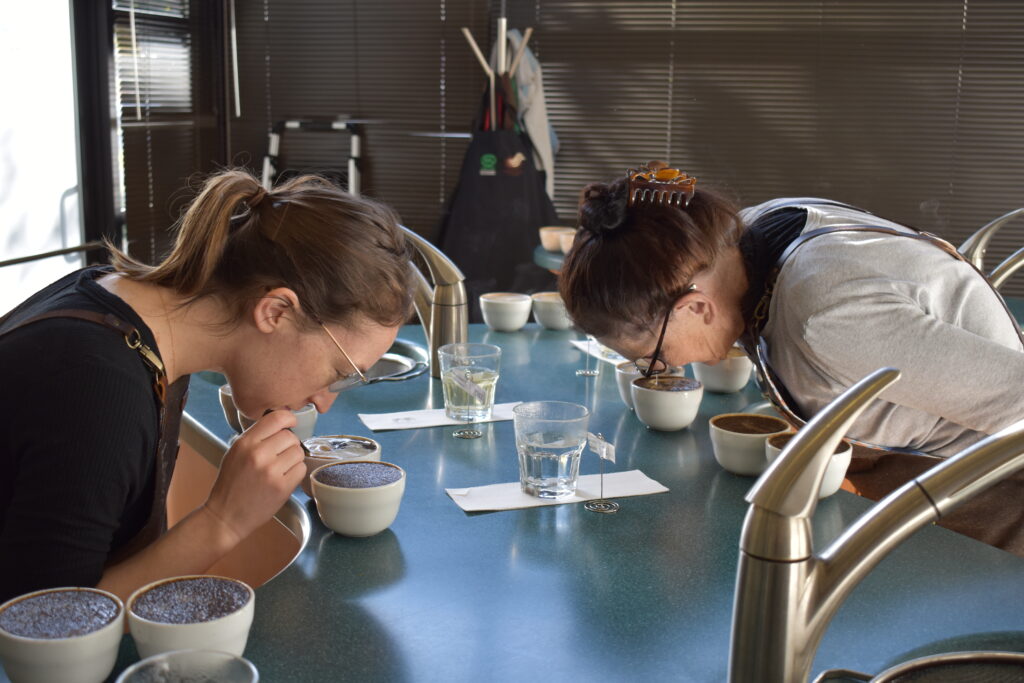
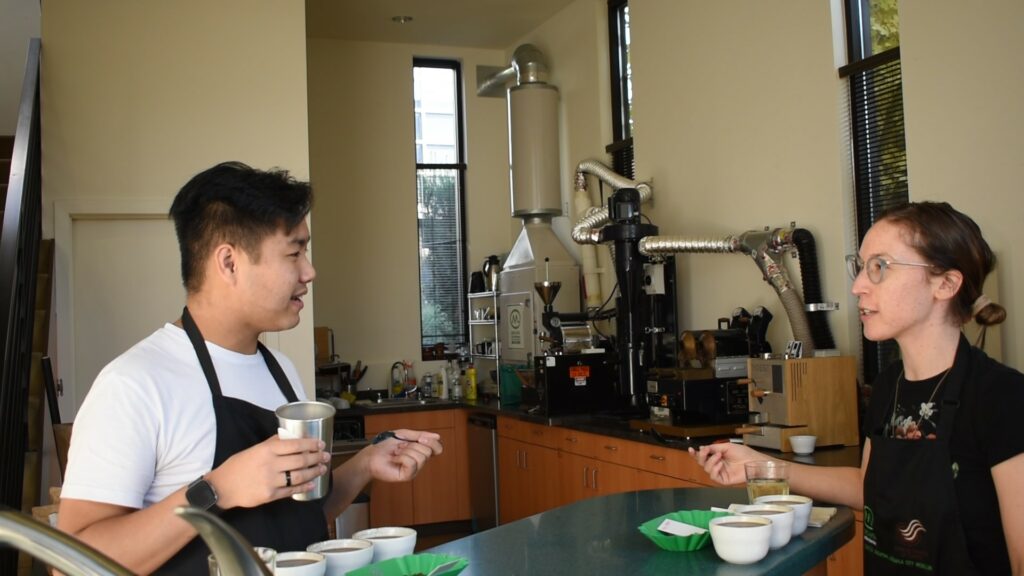
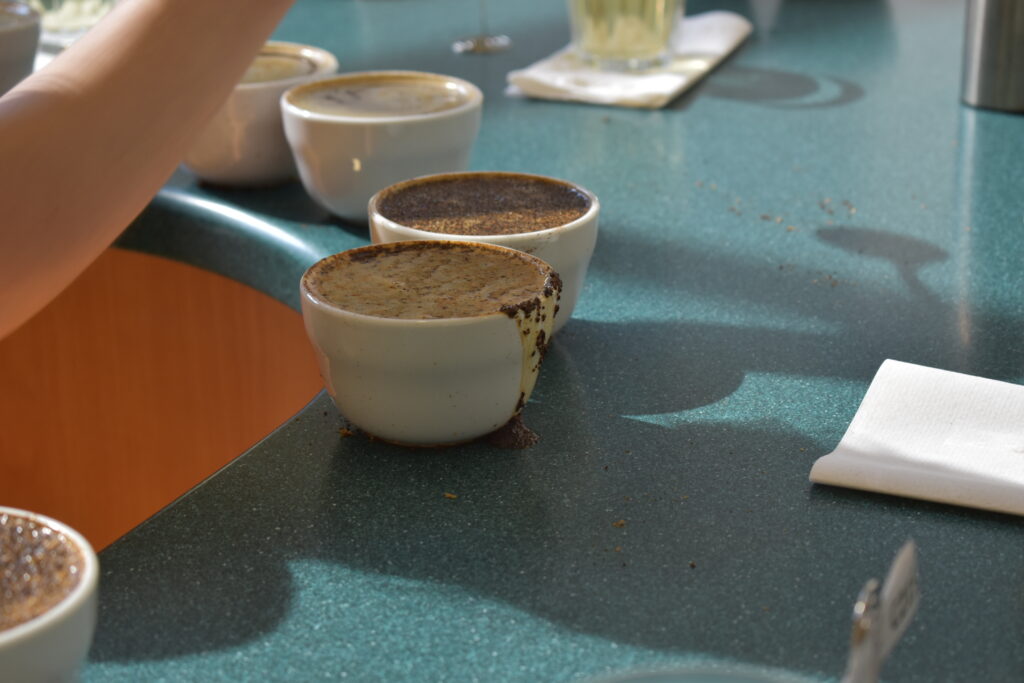
The fourth step in the sample process is tasting the coffee. First, we grind and evaluate the fragrance of the dry grounds. Second, we pour filtered clean water just off the boil over the dry coffee and analyze the aromas during the crusting and breaking stages. When hot (70C), we evaluate flavor and aftertaste. When warm (60C), we evaluate, acidity, body, and balance. When cool (40C), we evaluate for uniformity, clean cup, and sweetness. Although we analyze every attribute (besides aroma) at the hot, warm, and cool stages, we find those attributes are highlighted at those temperatures.
-
-
Step Five: Generating a Report
The fifth and final step in the sample process is generating a report of our evaluation of the coffees. As a lab technician, I write a report with individual scores, flavor descriptors, and general notes, then combine them to have averages and the group’s overall thoughts on the sample. From there, we discuss the quality of the coffee and whether we are going to approve or decline the sample. For most coffees, this is the end of the process, and we provide thoughts and feedback to the supplier. For the coffees we approve and purchase, this same process is seen for pre-ship samples and arrival samples.
-
-
The journey of a green coffee sample is quite procedural and relies heavily on the technician’s ability to follow the standards and guidelines set in their lab. All samples we receive deserve to be evaluated fairly. It is a great disservice to the producer if we reject coffee due to our inability to maintain the quality standards we have set. Our job and goal are to support farmers and grade with the best intent in mind. To grade with objectivity, and not personal preference.